
Get more details about this project
What you need
branches
saw
drill or Dremel
sandpaper
Instructions
1. Begin by using a sharp tool or a pencil to mark the intervals where your buttons will be cut. You want them to be relatively thin, but they should not be so thin that they risk snapping. I found that they should be at least 1/8″ thick. I marked next to my notches in yellow so that you can see them more clearly.
2. Cut the end of the branch using the hacksaw or electric table saw. The project is admittedly far more tedious when sawing by hand, but I wanted to show that this could be done without any major tool investment. If you do have an electric saw, I would recommend using that for expediency. Of course watch your fingers, and wear your safety glasses!
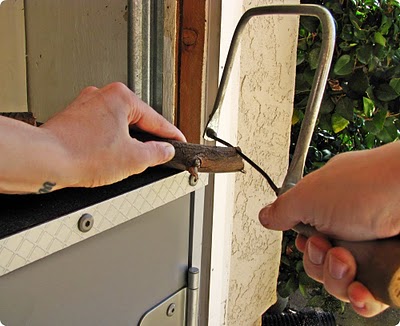
3. Place the sawed end of the branch over the edge of your work surface, and saw through the first line you’ve marked off. Once you’ve sawed that button off, continue until you have as many as you’d like.
4. Using your drill or Dremel with a very fine drill bit, carefully position your bit just left of center and drill through the button. I drilled atop an old piece of wood to protect my work surface. Repeat with the other side of the button to create two holes for sewing. If you prefer the look, then you can drill four holes instead.
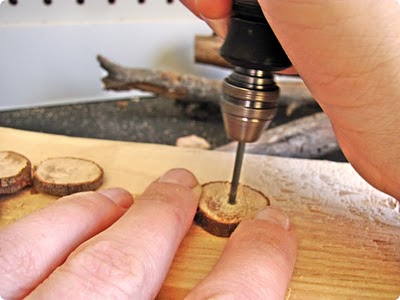
Drill Holes
5. One you’ve drilled through all your buttons, lightly buff each side with sandpaper to remove any edges that could snag clothing or other fabric.


What do you think of this project? Let us know!