
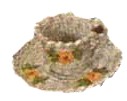
Get more details about this project
What you need
Lily Soft Spun Yarn:–1 ball each Pink, Blue, Green and Yellow (sufficient for 12 Cups), with crochet hook size 3;
Lily Sil-Tone Mercerized Crochet Cotton:–1 ball each Med. Green, Beauty Rose, Blue, Orange and Lavender.
Crochet hook size 10
Instructions
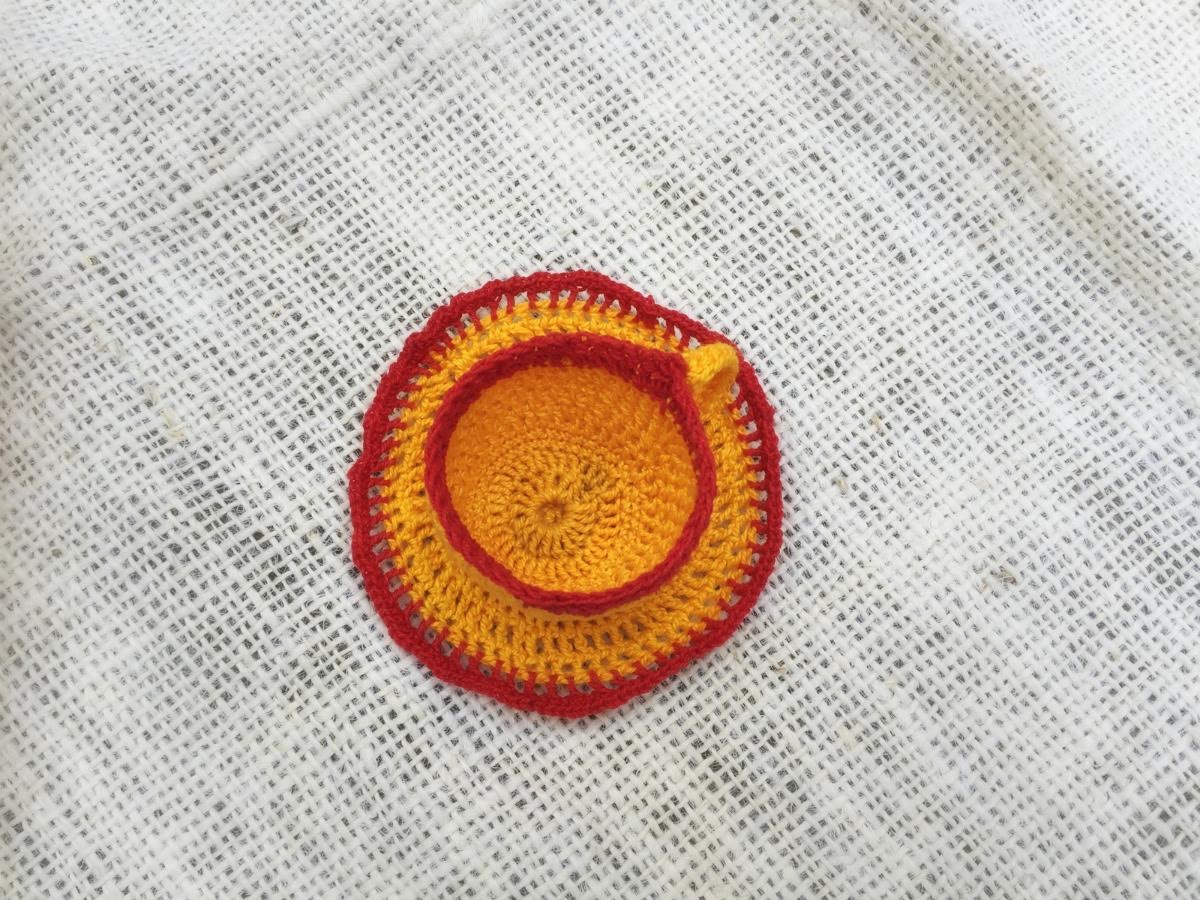
SAUCER — In Green Soft Spun. ch 2, 9 sc in starting st. * In back lps only, make 2 sc in each sc around. Mark end of rows.
ROW 3 — (Sc in next sc, 2 sc in next) repeated around.
ROW 4 — (Sc in 2 sc, 2 sc in next sc) repeated around. * Continue for 3 more rows, 1 more sc between widenings in each row. Put each widening in the 2d sc of each widening in previous row.
ROW 8 — Sc in each sc around with one widening to make 64 sc.
ROW 9 — Sc in each sc around.
EDGE — Sc in 3 sc, sl st in next 2 sc, (ch 1, dc in next sc, ch 1, sl st in next sc) repeated around. Fasten off.
CUP — Ch 2, 8 sc in starting st. Repeat Saucer from * to *.
ROWS 5 thru 12 – (Make next row even, without widenings. Make next row with only one widening) 4 times.
ROW 13 — Work even.
ROW 14 — Repeat Edge.
HANDLE — Ch 2, 5 sc in starting st. In back lps, sc in each sc around and around for 2 1/4″. Sl st in next 2 sc. Fasten off. Sew on cup for a handle. Tack Cup on Saucer.
LEAF SPRAY — In Green Sil-Tone, ** ch 11, * sk last st, (sl st, sc, 2 hdc and sl st) on ch, * (ch 6 and repeat from * to *) twice. Sk 3 leaves, sl st in ch-5 stem. Repeat from **. Fasten off. Make 5.
FLOWER In Beauty Rose Sil-Tone, (ch 4, dc in 4th ch from hook, ch 3, sl st in same st) 5 times, sl st at base of 1st petal. Fasten off. Make 5. Sew a flower on center of stem between leaves. Tack one on each side of Cup and 3 on Saucer.
Make 2d Cup and Saucer of Blue with Orange flowers, a 3d Set of Yellow Soft Spun with Lavender flowers, and a Pink Set with Blue flowers.
Rub the handle, inside of Cup and bottom of Saucer with a pad of cloth dipped in hot, thick starch. As starch sets, arrange Cups and Saucers in true shape.


What does the pattern mean by widenings? is that the same like increase?
Greeting Margreet
Using these as favors for my granddaughters “Tea Party” birthday party! I have been looking everywhere to find a pattern. Thanks so much!
We have a local Knit/Crochet group that meets at the Library by-weekly & they the Library is planning a tea party I think these would make great center pieces
I just threw-up in my mouth a little . Who does this stuff? yuck.
I know this is old but… Wow you’re rude! I think the tea cups are cute.
OH so lovely! *THANK YOU!* (((((HUGS))))) sandi
THis project was just lovely, not!
Fabulous!
Very cute.
-reply to misprint-left click and drag to highlight the pattern, then click ‘file’ and click ‘print’. When the printer screen comes up, check the ‘selection’ box and then hit ‘print’. You should just get the highlighted area printed. cjm
When printed the right side of the pattern is clipped off including half of the teacup picture.
Beautiful
Very nice !!