
Get more details about this project
What you need
Polar Fleece or wool felt in various colors
1 skeins of Embroidery Thread in a suitable color
Black Embroidery Thread for nose.
Toy Filling
Thin cord for tail
Approx 5 inch (12cms) when complete
Instructions
This mouse can be made with either patterned or plain felt or fleece.
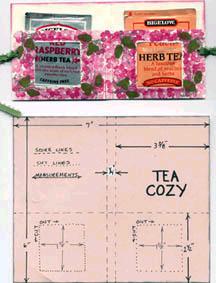
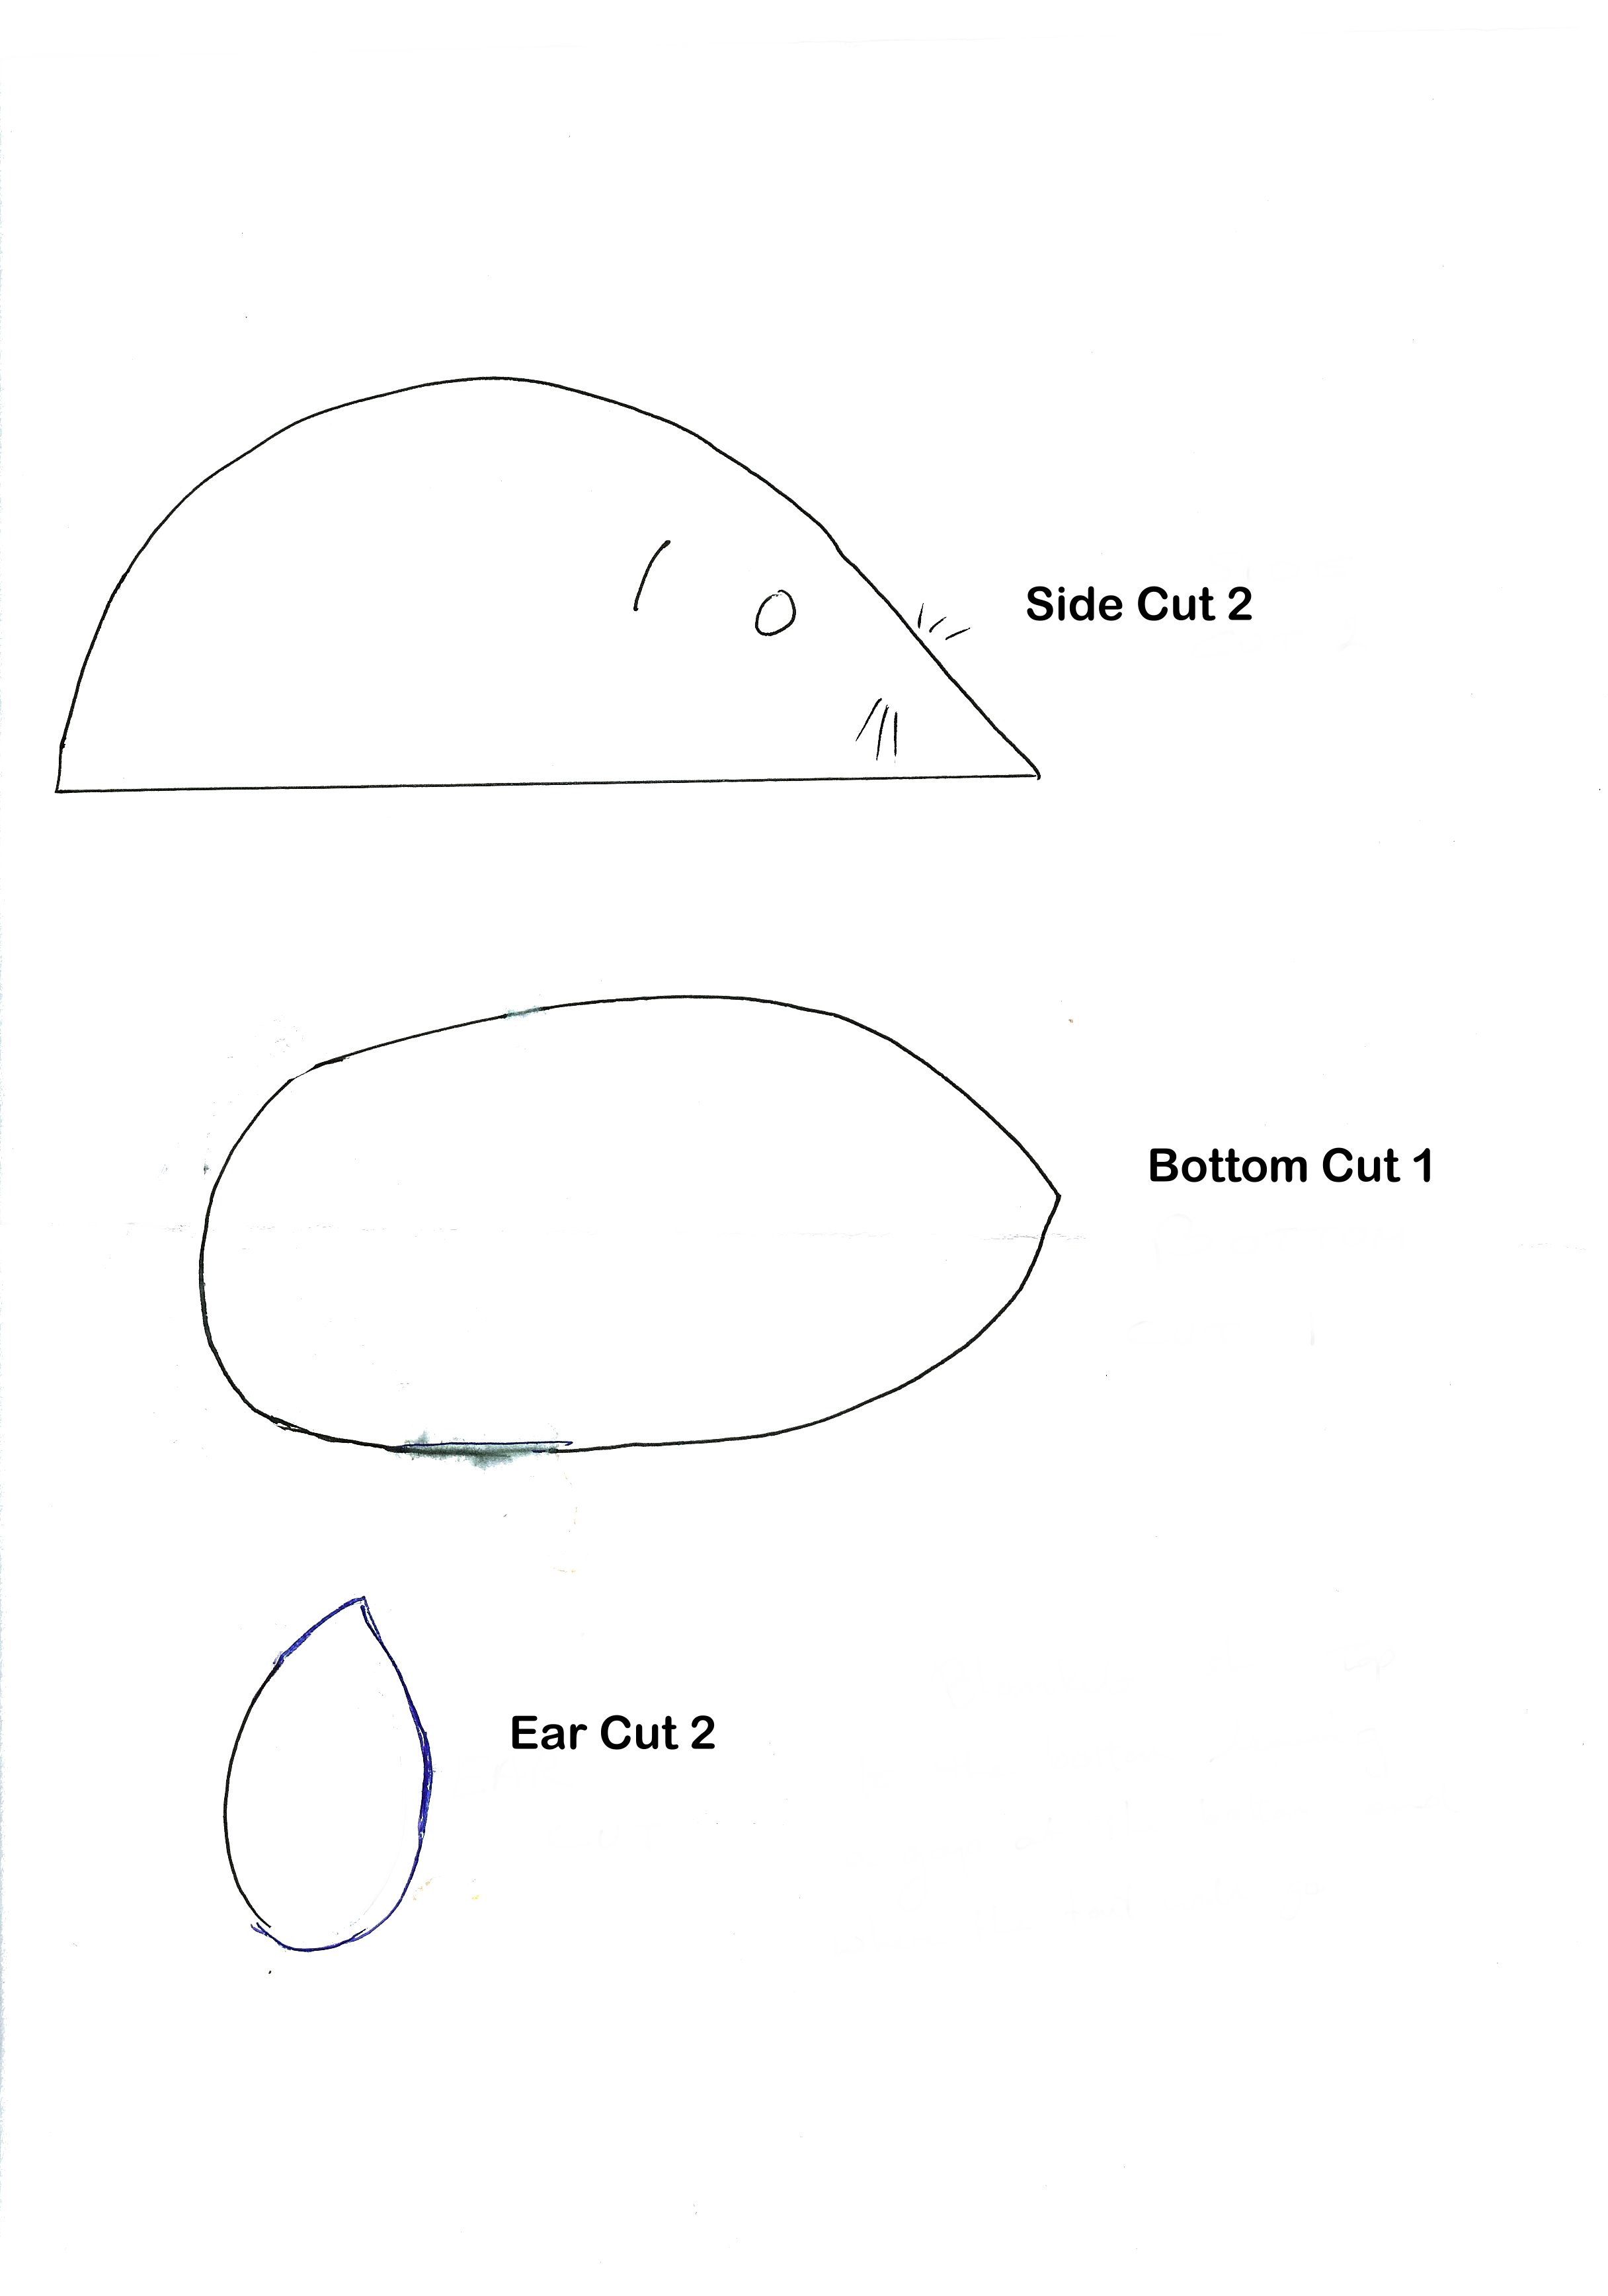
Use the pattern below and print off to fit onto A4 sized paper.
Cut out all your pieces and sew the 2 sides together using the embroidery thread. This mouse was made using a blanket stitch finish.
Using black embroidery thread or heavy wool sew whiskers into place on the nose by threading through and tying into a knot.
Sew the bottom onto the top leaving a space for filling with Toy Filling or Wadding at the back. You will also sew the tail into this gap.
Sew the ears together (do not add filling) and sew into place on the top of the mouse.
Create a tail with some matching cord and sew into place.
Finish your mouse by filling with toy filling and sewing the back gap closed.
You can also embroider the sides as we have done here for a pretty effect. This simple design would look great on plain felt or fleece.
All done!


hey this is cool i will make a red mouse!