
Get more details about this project
What you need
Sticker Book Supplies:
Cardstock, construction paper or some type of heavier paper for your cover
Wax Paper
Glue stick or double-sided tape runner
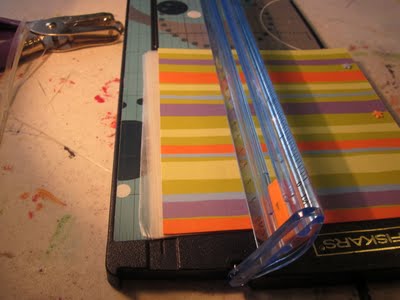
Paper trimmer or scissors
Ruler
Brads or yard
Hole punch
Instructions
Step 1. Decide the size and create your cover.
Since I have a ton of 12″ x 12″ scrapbook paper, I decided to go with a 6″ x 6″ book. So I cut the paper in half, and then folded each half in half to make the covers a little sturdier. Once I folded them, I used my tape runner to keep the paper folded in place.
Step 2. Create your pages.
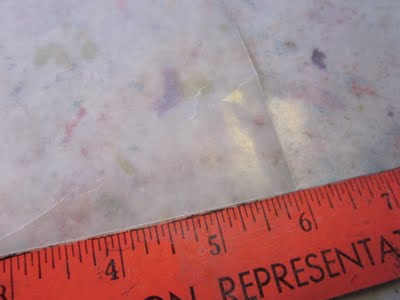
Considering the purpose of this book, I didn’t get too fussy with trying to figure out how much wax paper I needed before I started. I just pulled a big sheet of wax paper off, and figured if it wasn’t enough I could always get more. Once I had my big sheet, I first started by trimming each edge so that I was working with a straight edge. Next, I grabbed my ruler and folded my first page at the 6″ mark.

Step 3. Fold the pages
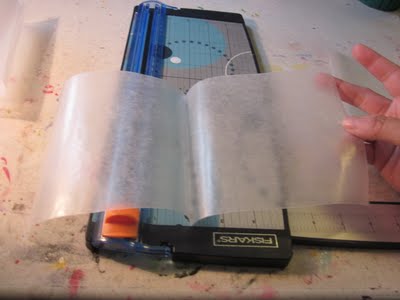
I just used a simple accordion fold for the pages. You can do whatever works for you. I wound up with a little extra wax paper at the end of my sheet, so I just trimmed that off.
Step 4. Trim the pages.
Again – my rule here was to keep simple, so I did not cut each individual page. Instead, I left two pages together and cut the third page off, repeating the process until I reached the end of my sheet. I did have a couple of single pages, but once they were all bound in the book, you can’t tell what’s where. Just make sure that once you have all of your pages cut, you have all of the folds on the side that will be bound. I think I wound up with 9 pages total.
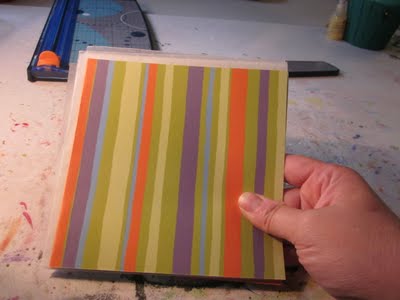
Step 5. Assemble the cover and pages
Stack the pages the best you can – wax paper can make this a little tricky. Align your front and back cover, and again – get all of the paper aligned the best you can. You can trim the excess after the next step, if you want.
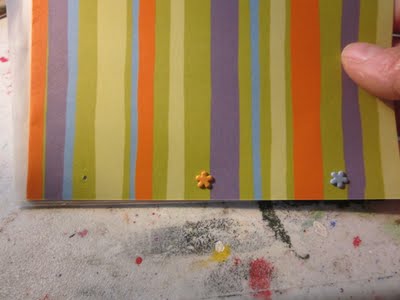
Step 6. Bind the book
For this project, I just used brads. I eye-balled the holes and punched 3 small holes. I used brads that I had on hand, but you could also use yarn to tie the pages together, staples or binder rings…whatever works for you.
Step 8. Trim the excess paper and decorate.
Now that your book cover and pages are secure, you can trim up the edges. If you have an 7+ year old, they can probably do this entire project on their own and they might not want to trim – which is totally fine. We finished our book off by adding (mommy’s) stickers to the front where we spelled out, “Emily’s Sticker Book.”


The finished book looks really professional and i like the use of the flower brads. Always looking for crafts like this to do with the kids. Thanks
MHHHHHM :T interASTING………….