
Get more details about this project
What you need
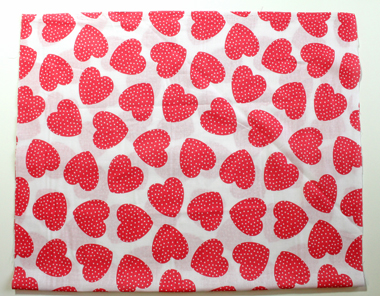
Fabric for the tote and handle, Grey, Red, White, Black and Blue Felt, Sewing Machine or Needle and Thread.
Instructions
- Start by printing this robot bag pattern.
- Cut your fabric into a 30”x19” piece. This will be folded in half and become the tote bag.
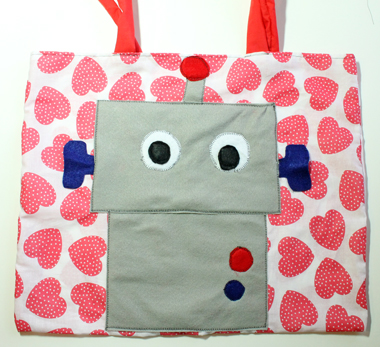
- Cut 1 6”x 9.5” piece of grey felt and one 6”x 8” piece of grey felt. This will be the robots body.
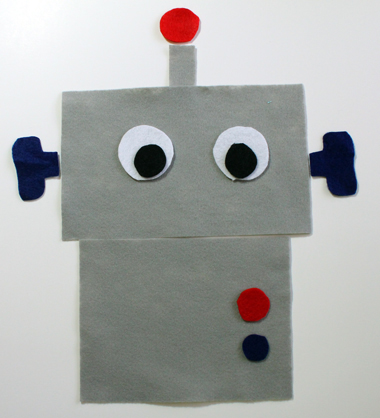
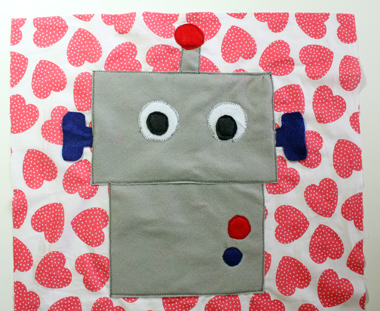
- Follow the pattern and cut out the robots features. His eyes white, pupils black, the bottom part of his antenna is grey, the circle red, the bolts are blue and the buttons are red and blue.
- Following the picture, Pin the felt robot pieces down onto the front of your tote bag.
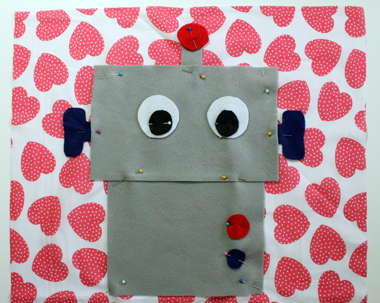
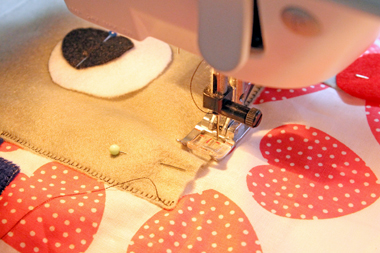
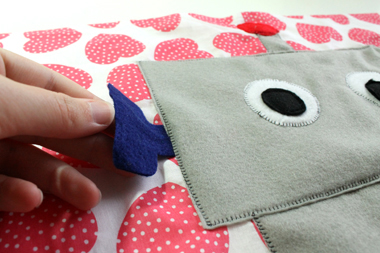
- Using either a sewing machine or a needle and thread, applique the robot down using a blanket stitch. Stitch down his body and all of his features except for the bolts, which I suggest sewing down only the edge that touches the robot and leave the rest unstitched. This lets them be more 3d and flop around a little.
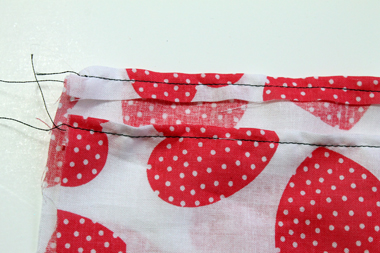
- Hem the top 2 edges of your tote.
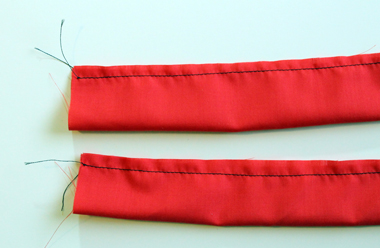
- Cut 2 3”x40” pieces from fabric, Fold them in half (pin them in half so that they don’t open up.) and sew down the long side, creating a long tube. Flip the 2 tubes right side out.
- Pin the edges of your handles to the top inside of your tote and stitch them down.
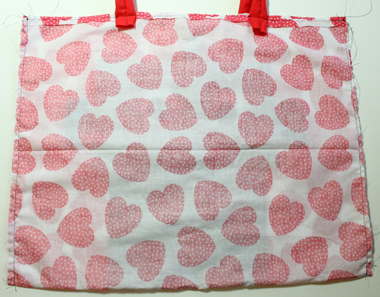
- Fold your tote bag in half, right sides together, and stitch up the 2 sides, finishing the tote bag.


Cute and simple = just like me !!!! these instructions are really clear and easy to follow. My eldest son is autistic and is robot crazy, he will love it,
Cheers
Gilly