
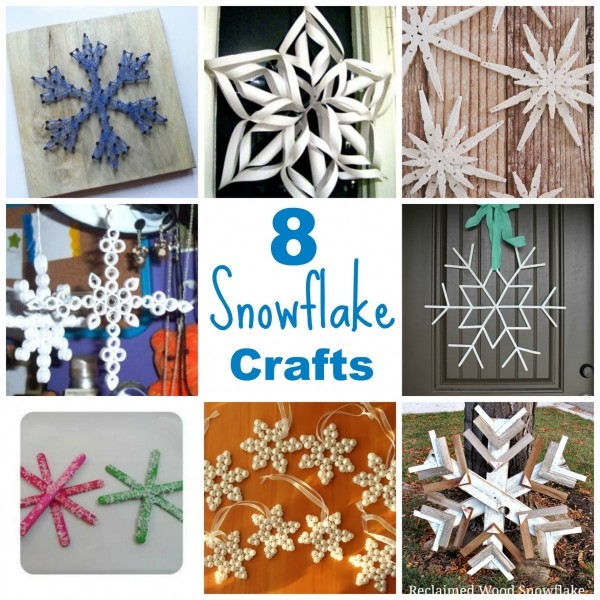
Get more details about this project
What you need
Paper mache square box
Floral patterned fabric
Odd buttons and Lace
PVA glue and craft Glue
Acrylic paints
Wood heart shape
Instructions
Start by painting the inside and outside of your box with a complimenting color to your fabric.
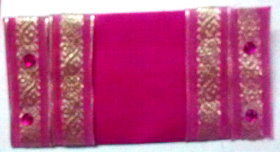
Once your box is dry. Use your lid as a template to cut a square of fabric, just larger then the top of your box.
Place some glue onto your lid, and then glue down the fabric. Wrap it around the sides tightly. This will be covered up with some binding.
For the side of your lid, fold a piece of fabric about 1 Cm larger then the width of your lid’s edge.
Fold both the outside edges into the middle to form a neatly folded binding. Which is the same width of your lid’s edge.
You may need to iron it down to keep it straight. Glue it down and around your box to cover the sides.
Use the picture above as an example. It will make it easier to follow.
Antique Finish:
Mix 1 tbs of coffee with 3 tbs of water. Paint your box with this mix to give it an antique effect. Try not to use too much liquid.
Just a nice dry brushing of coffee mix will be enough to stain it.
Decorate your box with buttons and lace then glue your wooden heart on top.


very simple and easy-to-follow directions!